After purchacing the projector (the BenQ W1070, in this case), I learned that the 'Lens Shift' adjustment is really only viable if your projector is on a ceiling mount. Seeing as I intend to use my projector right side up on a high shelf, I needed a way to angle the image downward. The simple solution is to angle the projector downwards.
Preliminary Work
My idea was to use 2 threaded rods to suspend a wooden board, so you can adjust the tilt as well as the angle so it would be easy to adjust the image on my wall.

the general idea
I was hoping to find some generic plastic feet with a thread, but it was easier to find a bolt of the right length, so plans changed slightly.
The bolts alone wouldn't be stable enough, so I added a piece of wood as a base.
The bolts alone wouldn't be stable enough, so I added a piece of wood as a base.
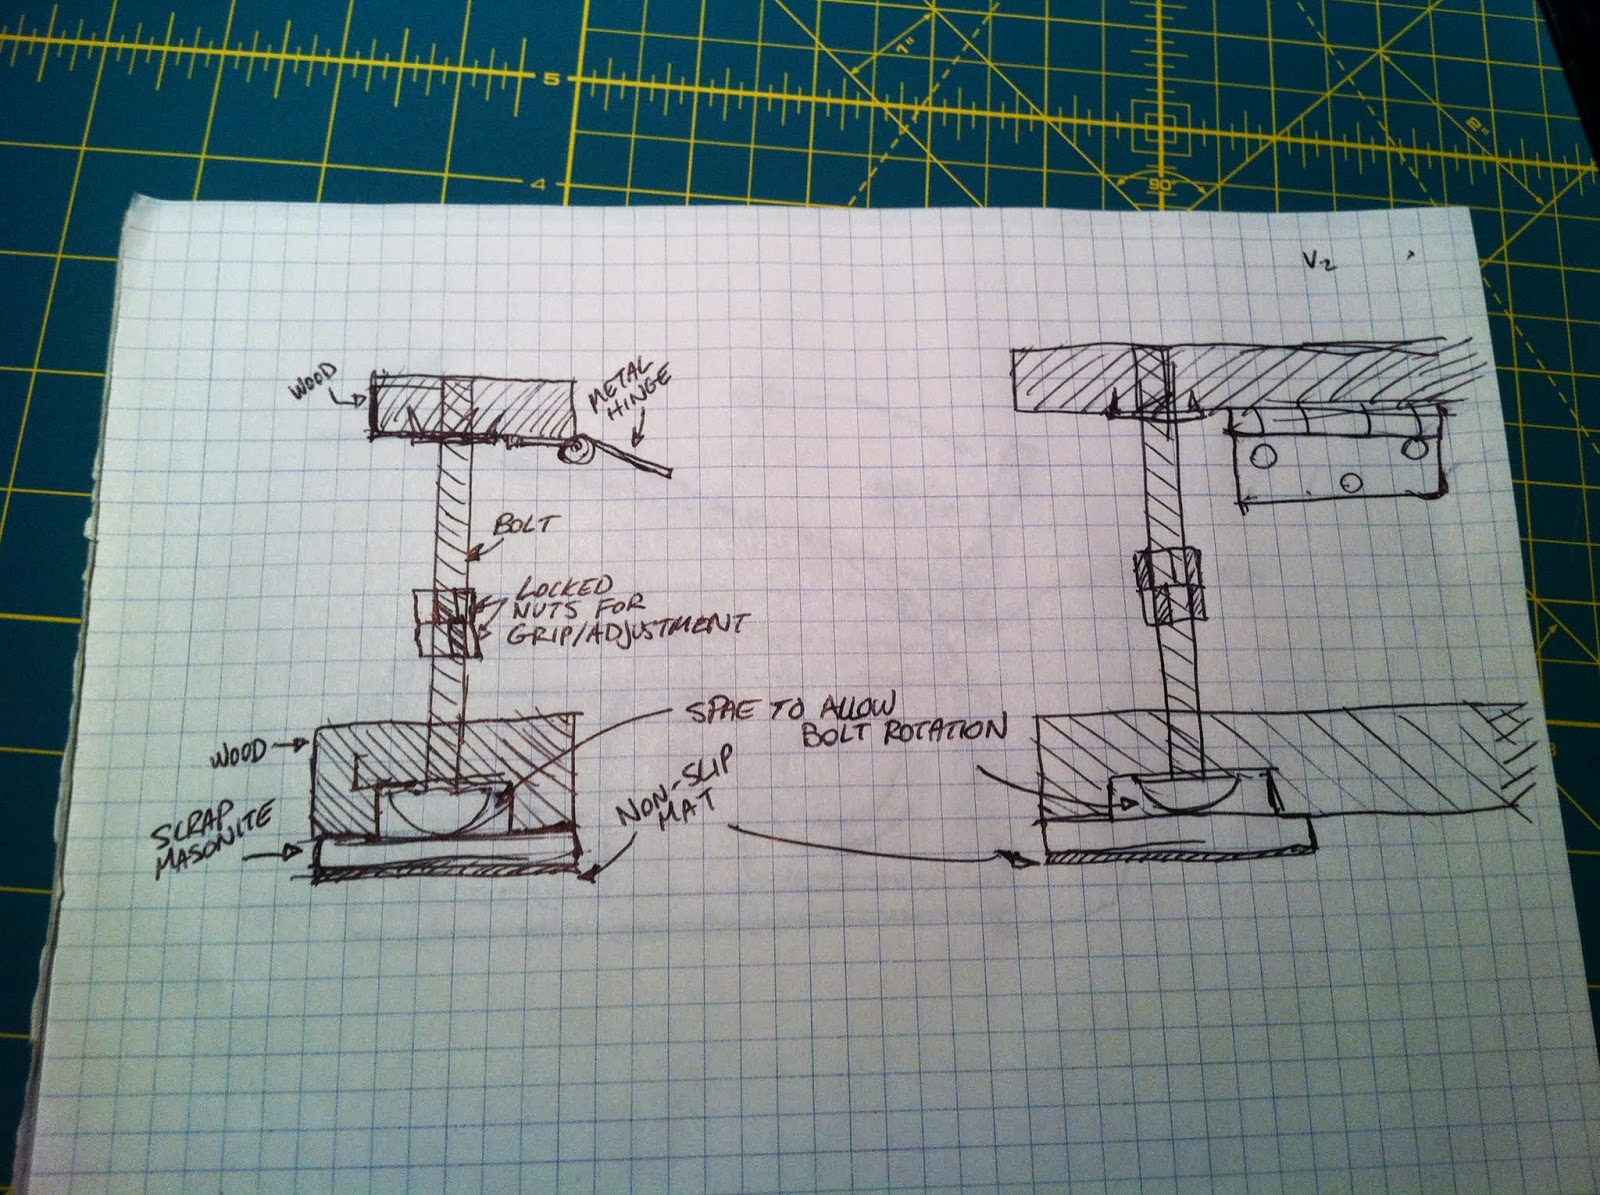
much more stable. drawn after the fact.*

a small piece of wood in the front to ease nerves
* I made a few revisions as I went.
Materials
I had a bunch of leftover wood from the shelving project, so I just bought some hardware.
leftover wood, drawer liner, and hardware
> wood. I had some.
> 2x 6 inch bolts
> hinge
> tea nuts
> small angle bracket
> drawer liner*
> small piece of masonite or some thin durable material*
The Process
I cut the wood I needed to size. One base, one piece to secure the front of the projector, and two for the back and footing.

a piece of wood in the shape of a square
I secured a the front piece with the angle bracket, and attached the hinge underneath the middle of the opposite side.
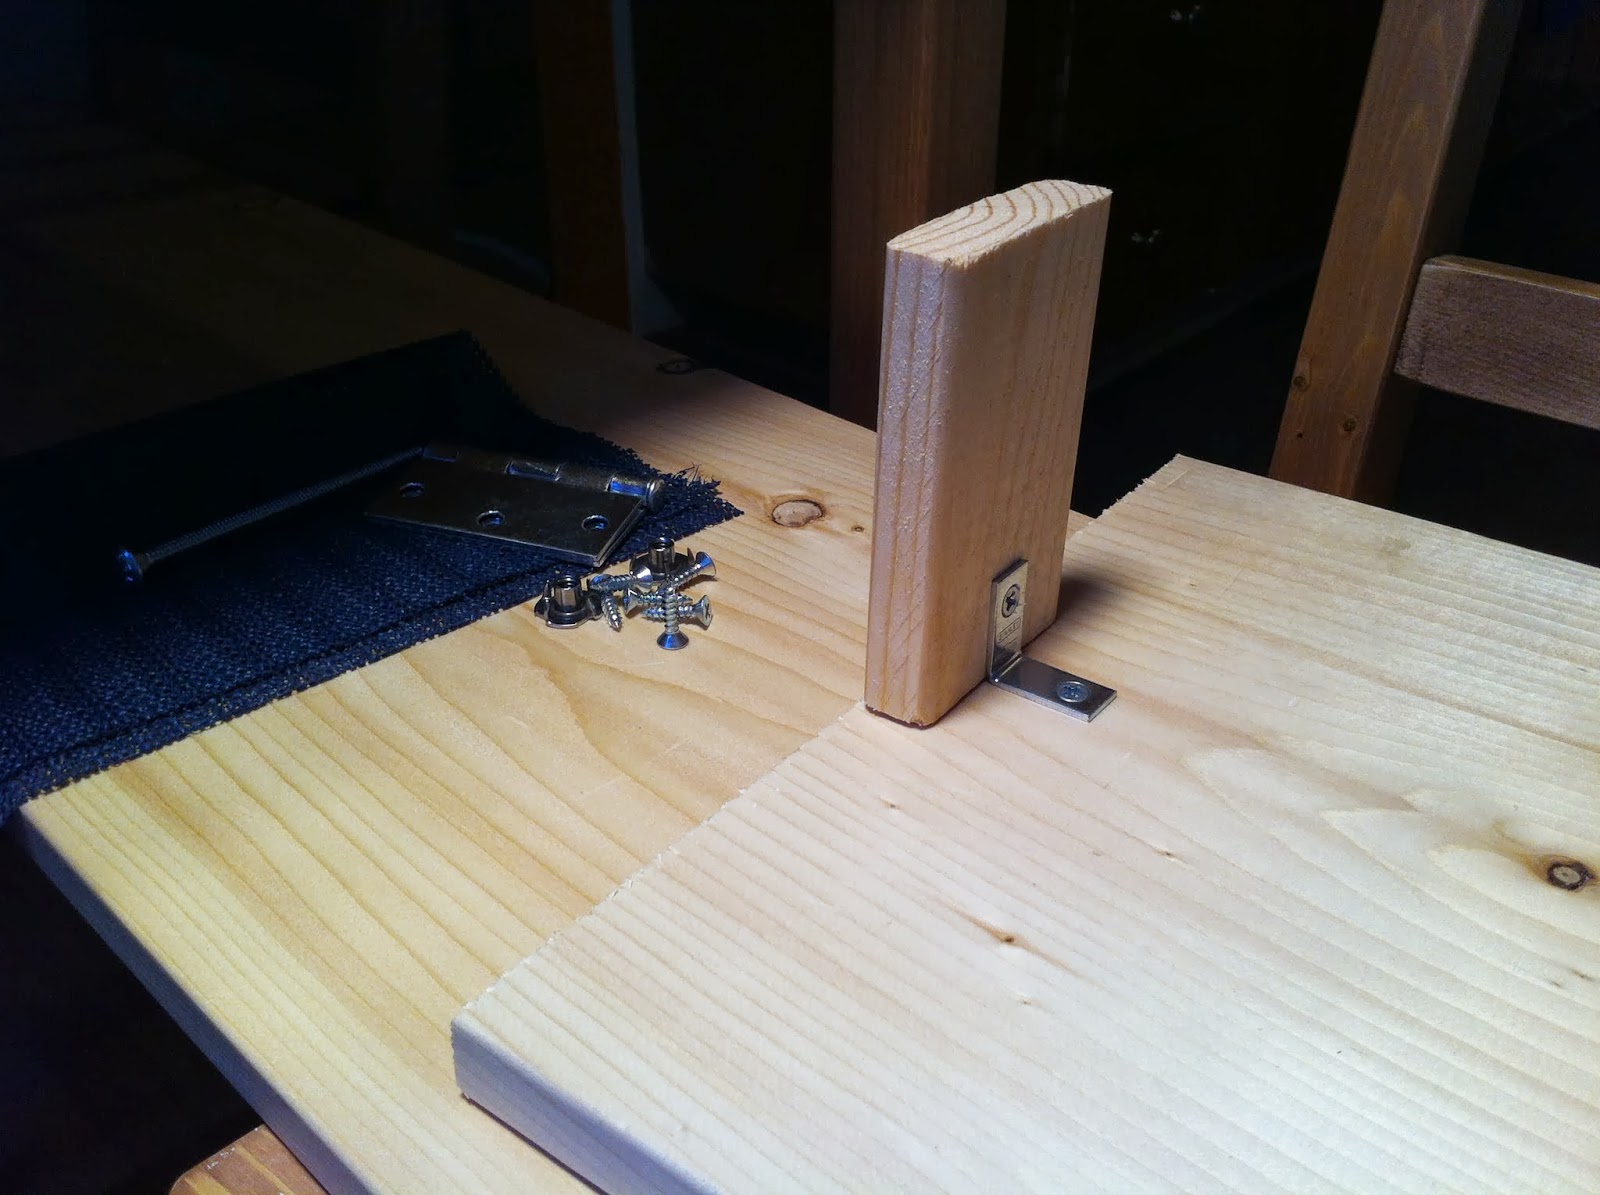
safety belt
I drilled a few pilot holes in the footing to allow the bolts enough room to freely turn in two pieces that were the same size for the bolts to go in.

safety first
For the back, I then hammered in the tea nuts and attached it to the hinge connected to the base.
On the footing piece, I used a chisel to cut a square hole around the pilot hole that was deeper than the head of the bolt. After inserting the bolt, I covered the holes by gluing a square of masonite pegboard over top and covering them with non-slip drawer liner to act as the feet.
On the footing piece, I used a chisel to cut a square hole around the pilot hole that was deeper than the head of the bolt. After inserting the bolt, I covered the holes by gluing a square of masonite pegboard over top and covering them with non-slip drawer liner to act as the feet.

I was impatient
I added two nuts onto each bolt and locked them together part way down so I could grip the bolt to adjust each side individually.
The Product
Works like a charm!
I'm still thinking about the cable situation

I'll think of something...


